Motorola walkie-talkies are widely regarded for their durability, long battery life, and crystal-clear communication. Whether you’re in security, logistics, event management, or outdoor recreation, knowing how to properly set up and use your Motorola walkie-talkie ensures you get the best performance while minimizing communication disruptions.
This guide walks you through step-by-step instructions to set up, operate, and maintain your Motorola two-way radio—whether it’s an entry-level T-series or a professional-grade DMR model.
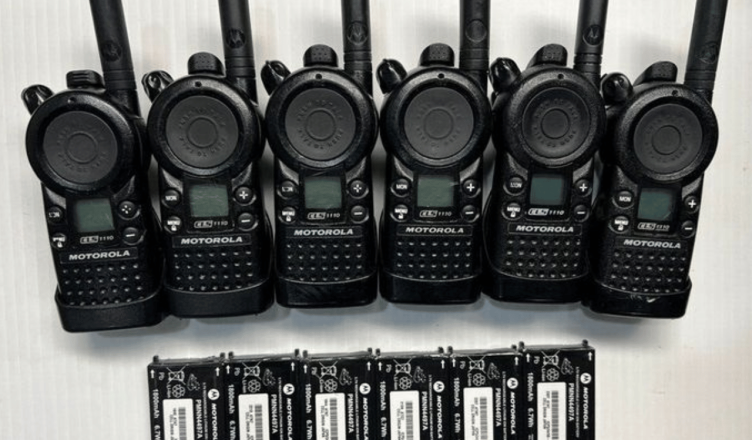
Why Choose Motorola Walkie Talkies?
Motorola is a global leader in two-way communication. Their devices are known for:
- Rugged, waterproof design suitable for industrial and outdoor environments
- Long battery life for uninterrupted usage
- Clear audio and noise suppression technology
- A wide range of models, from license-free consumer units to professional digital radios
- MCMC-compliant units approved for use in Malaysia
But to get the most out of your device, a proper setup is crucial.
Step 1: Unbox and Identify Components
Upon receiving your Motorola walkie-talkie, ensure the box contains:
- Handheld radio unit(s)
- Battery pack or AA/AAA battery compartment
- Antenna (if detachable)
- Belt clip
- Desktop charger or USB charging cable
- User manual or quick-start guide
- Optional accessories (earpiece, microphone, etc.)
Check if all items are included. If you purchased from an authorized supplier in Malaysia, they should also provide warranty information and, in some cases, a local support contact.
Step 2: Insert and Charge the Battery
For rechargeable battery packs:
- Insert the pack into the rear battery compartment. Align the contacts and snap the cover shut. Plug the device in using the USB wire or place it in the charging cradle. Charge for at least 8 hours for the first use.
For units using AA/AAA batteries:
- Insert fresh alkaline or NiMH batteries. Ensure proper polarity.
Battery tips:
- Avoid overcharging the battery or keeping it in a hot environment.
- Always carry a spare pack for critical operations.
- If unused for long periods, recharge monthly to maintain health.
Step 3: Attach the Antenna and Belt Clip
Some Motorola models (especially licensed ones) come with removable antennas. Attach the antenna firmly by rotating it clockwise. Use only Motorola-approved antennas to ensure compliance and proper performance.
Attach the belt clip if desired. Slide and lock it into place on the back of the unit.

Step 4: Power On and Set Channels
Turn on the walkie-talkie by rotating the volume/power knob clockwise until you hear a click and see the display light up.
Then, select a channel:
- For basic models (e.g., Motorola T-series):
- Use the up or down arrow keys or rotary knob to change channels (usually 1–22).
- For licensed or digital models (e.g., MOTOTRBO):
- Your device may have custom-programmed channels. Refer to your supplier or radio manager for a channel chart.
Ensure that all devices in your group are set to the same channel and privacy code (CTCSS or DCS) if applicable.
Step 5: Conduct a Range Test
Test communication over your usual working range before formally utilizing it. Factors that affect performance:
- Buildings, walls, and metal surfaces can reduce range.
- Up to 5–10 km can be communicated in open outdoor spaces.
- High-powered licensed models offer extended coverage with repeaters.
If the range is inadequate:
- Change your position, such as by going to higher ground.
- Upgrade your antenna or use a repeater (licensed models only).
Step 6: Learn the Basic Controls
Most Motorola walkie-talkies have the following standard buttons:
- PTT (Push-to-Talk) Button – Hold down to talk, release to listen.
- Menu/Function Button – Access settings like scan mode, call tones, or VOX.
- Volume Control – Change the sound level.
- Channel Selector – Manual toggle or screen navigation.
- Call Tone Button – Sends a tone to alert others before speaking.
Practice using these controls to avoid pressing the wrong button during critical conversations.
Step 7: Enable Privacy Codes (Optional)
Privacy codes (CTCSS or DCS) help reduce interference from other users on the same channel. This doesn’t encrypt your message but filters out transmissions that don’t use the same code.
To set:
- Select your channel.
- Enter the menu mode.
- Navigate to the privacy code option.
- Select a matching code on all radios.
This is especially useful in crowded urban environments or during large events.
Step 8: Use VOX for Hands-Free Operation
Some models offer Voice-Activated Transmission (VOX). When enabled, the radio automatically transmits when it detects your voice—useful for cycling, hiking, or working with both hands occupied.
To activate VOX:
- Press the menu button.
- Navigate to VOX mode.
- Set the desired sensitivity level (low, medium, or high).
- Test before using in noisy environments to avoid false triggers.

Step 9: Understand Emergency and Group Call Features (Advanced Models)
Professional Motorola models may include:
- Emergency Alerts – Send a high-priority signal to team leaders.
- Group Calling – Broadcast to all radios in a fleet.
- GPS Tracking – Some digital models support location services.
- Text Messaging and Data Transfer – Limited to digital radios (DMR).
Refer to your user manual or Motorola software for advanced programming.
Maintenance Tips for Long-Term Use
To keep your radio functioning efficiently:
- Clean it weekly with a dry or slightly damp cloth. Avoid chemicals.
- Inspect the battery terminals for corrosion or debris.
- Store in a cool, dry place when not in use.
- Update software or firmware (for digital models) using Motorola’s software tools.
- Avoid dropping or submerging non-waterproof models.
Common Mistakes to Avoid
- Using mismatched channels or privacy codes leads to communication failure.
- Speaking too quickly after pressing PTT—always pause for one second.
- Overcharging batteries reduces their lifespan.
- Ignoring local regulations—licensed radios must be approved by MCMC.
- Using non-genuine accessories can cause malfunctions or void warranties.
Best Practices for Daily Use
- Perform a radio check before each shift or any event.
- Establish clear communication protocols (e.g., call signs, response codes).
- Limit unnecessary chatter to keep channels clear.
- Use headsets or earpieces for private or noisy environments.
- Label each unit to avoid mix-ups or theft.
Conclusion
Mastering the setup and operation of your Motorola walkie-talkie helps ensure clear, reliable communication in any environment. From selecting the correct channel to using VOX mode or emergency alerts, this device offers a variety of functions that improve team efficiency and coordination if used properly.
Whether you’re using your Motorola walkie-talkie for daily operations, weekend adventures, or emergency preparedness, this guide provides everything you need to use it safely and effectively. Remember, a good radio is only as effective as the person operating it—so take the time to practice, set it up correctly, and follow best practices every time.